Project 1: Modelling of an Architectural Design |
| My first introduction to Rhinoceros modelling software. Learned to use Box tool to create surfaces and Boolean to create openings. Image shows basic structure created. |
 |
| Getting to know Rhino better, where we experiment with curve surfaces, rail tool, array, pipe, text and adjusting the C-plane. The C-plane cause a minor confusion at first but after a few tries I managed to get the hang of it. Where basically it alters the X, Y and Z axis as desired. |
 |
| A side project for Studio 3 site analysis. I guess Rhino came in handy :D It was a good exercise to test my skills. |
 |
| The commencement of Project 1 for Computer Applications: Modelling of an Architectural design. Used my design I did for Studio 2 final project. It's a retreat house for a coastal guard. We love seaside. Did the plans and elevation in AutoCAD using proper layers. |
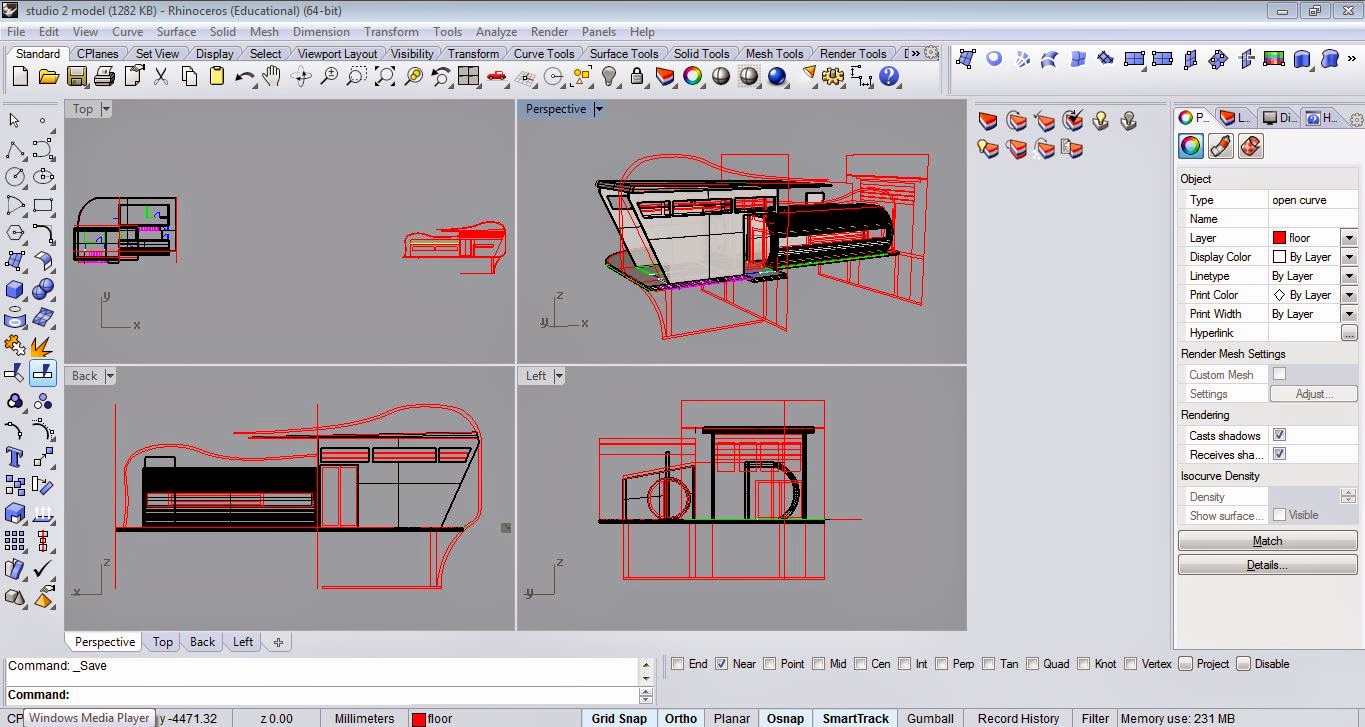 |
| Had the CAD files imported into Rhinoceros. Apparently had to save as AutoCAD 2000 or else Rhino gets an error when importing. After that I fixed up the elevations and plans like a 3D puzzle so it's great for accurate referencing. From here on it is extensive amounts of Box, Extrude, Planes and Boolean, as according to the drawings. |
 |
| In the process of creating the form. |
 |
| Creating curves took longer than expected, had to understand the way Osnap works or my curves would be off miles away. |
 |
| Boolean difference is an efficient tool when I am required to create openings in walls or floors. The idea is to always keep in mind to create solid objects and not mere surfaces, so that Boolean is workable. Other similar tools that are good for subtracting solids are Trim and Split. |
 |
| Creating the windows. |
 |
| Progress check: Main structure completed, namely walls, floors, openings and roof. |
 |
| Incomplete front elevation. |
 |
| There were a little frustration when creating the facade wall, as it is tilted outwards at the top. finally settled for the easiest way by creating a surface of the thickness of the wall and extruded it. Perhaps there are other ways that I've yet to uncover. |
 |
| More Boolean to create the door that connects the reading room to the out door balcony. |
 |
| Boolean difference outcome. |
 |
| Creating the four front windows, meant for light and ventilation. |
 |
| Starting to look about right. |
 |
| Worked on doors and their frames. |
 |
| Elevation view. |
 |
| Took some time to created the timber screen (shown in the very darkly shaded rectangle). |
 |
| "God is in the details." - Mies van der Rohe Creating a panel door, mainly for aesthetic purposes. |
 |
| Up goes the sun-shading screen, done with the need of all four view of the house. |
 |
| More screen... More clicks... Even more sleepy. |
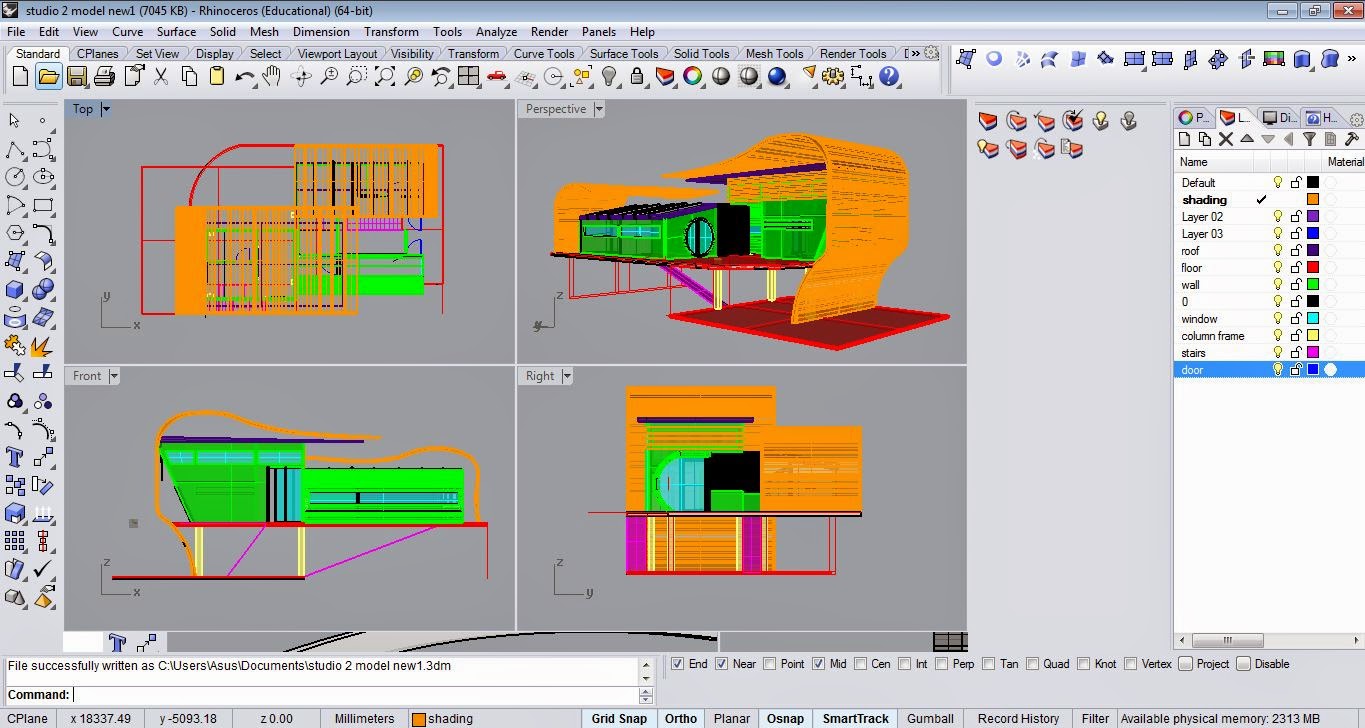 |
| Sorting layers. One mistake I learned so to avoid in the future is disorganization of layers from the start. It's a lot more convenient to fully utilize the layers from the beginning. But after this, it seems that the model is done for the part on Rhinoceros. |
 |
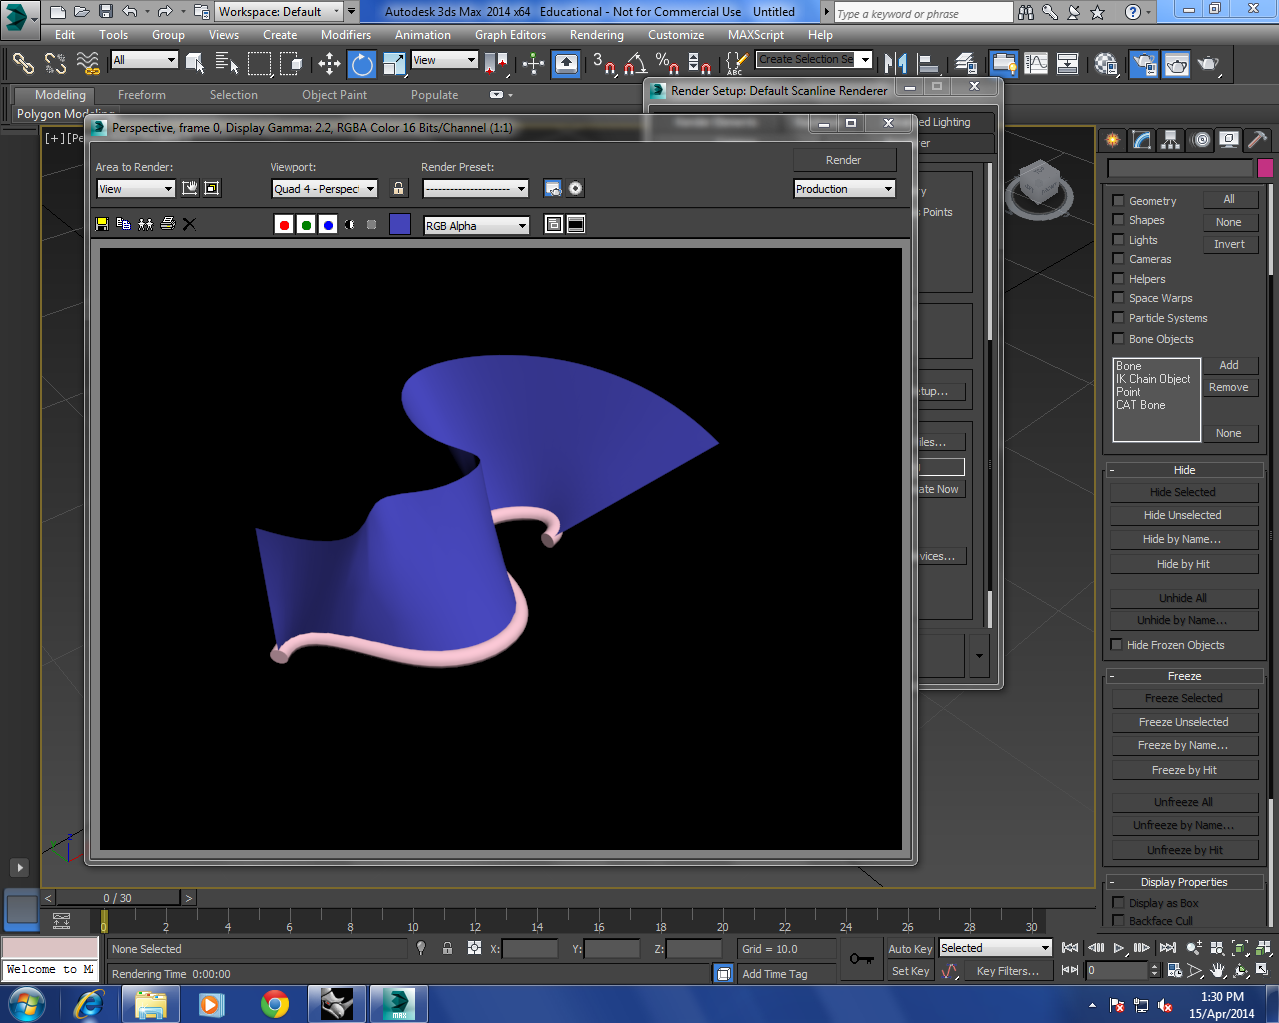
| At the same time, I also learned to operate 3ds Max. Which in my opinion, a lot more sophisticated but never fails to deliver in terms of quality. We got to experiment with basic shapes and polygons. The image actually shows a curve created using the tool U-Loft. Had trouble at first when I didn't realize I had to change the copy settings of the curve from instances to copy. |
 |
| Meet the Utah teapot. Apparently 3ds Max has these as one of their basic shapes. It is said that a model of this teapot was the very first 3d computer model to be created. Also learned to play around with colour rendering on 3ds Max. |
 |
| First time rendering a simple model on 3ds Max. This model was imported from Rhinoceros. |
 |
| Quality wasn't that good. I didn't tune it up. |
 |
| Rendered a different view. |
 |
| We love creating shapes. |
 |
| Going back to business, had the Rhinoceros file imported into 3ds Max as a dwg reference. Image shows the material editor, where we can select colours and materials available by 3ds Max and give colour to our model. I really like how we can drag and drop the colours onto the model. |
 |
| First attempt at creating a contour. How about some craggy mountains eh? I used a plane and converted it to an editable polygon. followed by soft selection where I painted the plane with varying strengths and push/pulled the plane. The results are pretty cool, though it was so fun I overdid it. Oopss. But one thing I can say is that I still don't have great controls when it comes to making contour. Bleh. |
 |
| This is it.. This is it.. Creating the contour was a pain. I still can't quite figure out the best way to paint in order to prevent the contour from looking like the Moon's surface. Can you guess that this is a nice warm sandy beach? |
 |
| The main challenge was to get the contour's level right, fitting to the model's floor and base. |
 |
| Voila! The contour of a beach that slowly inclines into a hill of beach forest. |
 |
| I had to convert some pesky lines which I didn't quite clean up to a less striking colour. |
 |
| Final colour render of the building and contour. |


 |
| Testing material rendering. Yes? No? Hmm. |

No comments:
Post a Comment